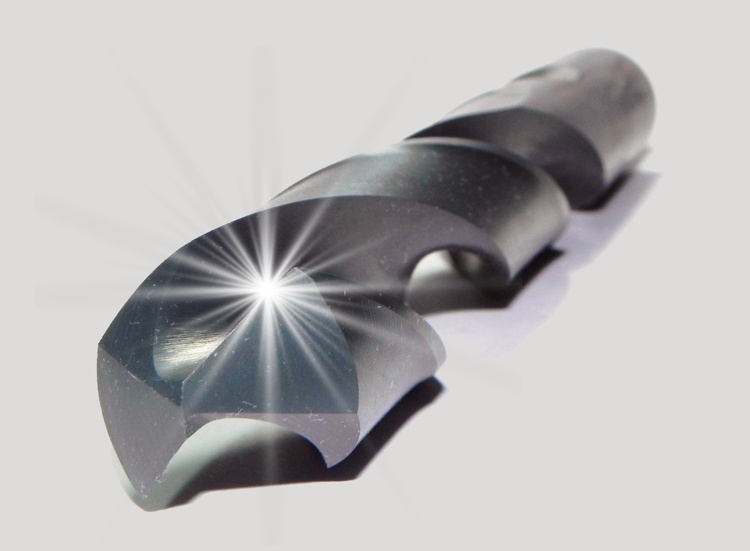
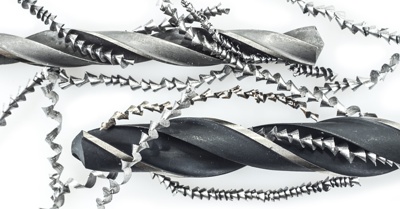
Is your drill bit not cutting like it used to? Don’t throw it away just yet. You’d be surprised how many people discard dull drill bits without realizing they can restore their edge with a simple sharpening.
Here’s a fun fact: in Argentina, we often call them "mechas," while in other Spanish-speaking countries, they’re known as "brocas." In Argentina, the word "mecha" is also used to refer to a metal wall anchor with threads.
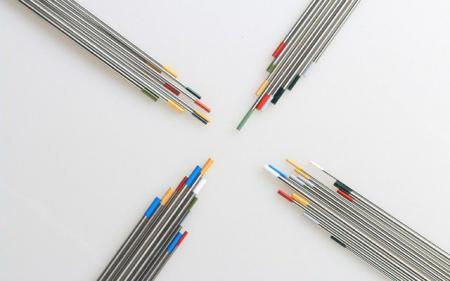
If you notice your drill struggling to cut through metal or the bit overheating quickly, it’s time to sharpen it. In this article, we’ll explain how to properly sharpen high-speed steel (HSS) drill bits, which are the most common for metalworking.
For a drill bit to work effectively, the most important factors are:
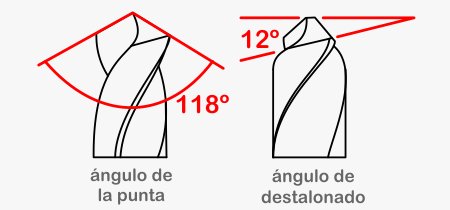
Drill bits have a helical shape with several parameters that affect their performance. However, to sharpen them correctly, you only need to understand two:
This value is half the tip angle, so 118º / 2 = 59º.
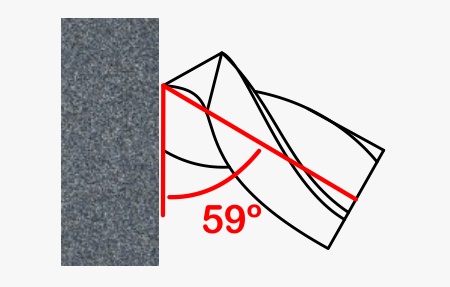
This is the position the drill bit should have relative to the grinding wheel. While it’s possible to do this "by eye," achieving good results without a guide is extremely difficult. There are several ways to address this.
Our friend Omar from the Mr123 channel has an excellent manual technique for sharpening drill bits. Check out how he grinds the cutting edge relief.
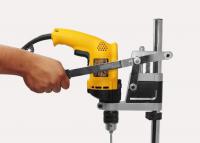
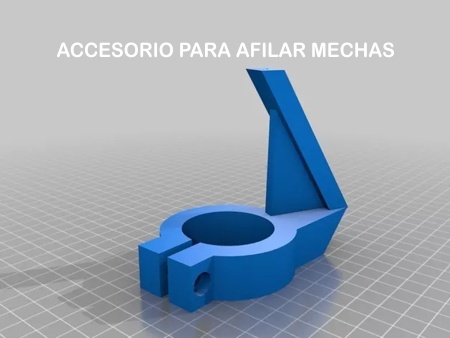
This accessory doesn’t actually sharpen but plays a crucial role: keeping the drill bit in the correct position.
It’s 3D-printed and is an affordable option available on MercadoLibre. Of course, you’ll also need to purchase a grinding stone or disc with a drill arbor. Another drawback (or challenge) is that the drill must be secured in a way that’s not too awkward to operate.
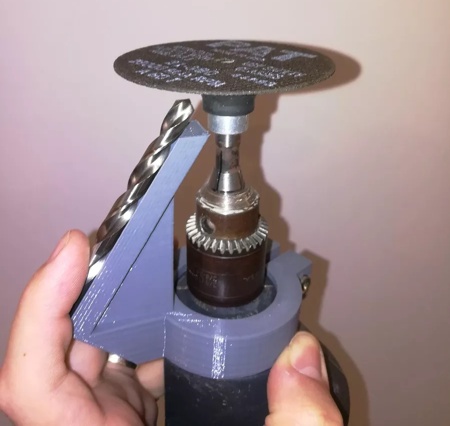
There’s also a smaller model for sharpening drill bits with a Dremel, the multi-purpose rotary tool.
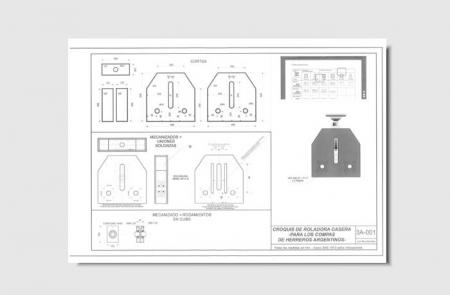
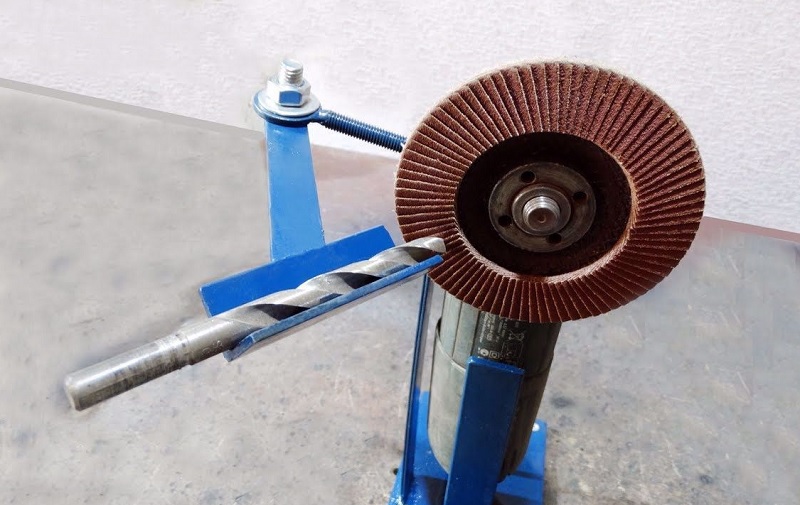
This option can be made using scraps and some bolts with nuts. It uses an equal-leg angle iron "V" profile to support the drill bit. The sharpening angle is adjustable.
You can make a DIY drill bit sharpener using a couple of hex nuts, as they have 118º at each vertex.
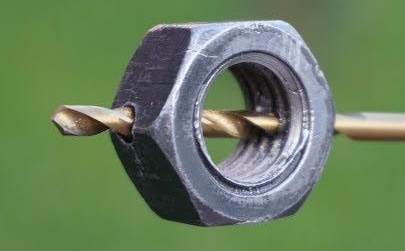
The nut acts as a guide when placing one of its faces parallel to the grinding wheel and also serves as a support for sharpening, making it easier to rotate the bit. Be careful to minimize contact between the nut and the grinding wheel, as wear or deformation could make this DIY adaptation inaccurate.
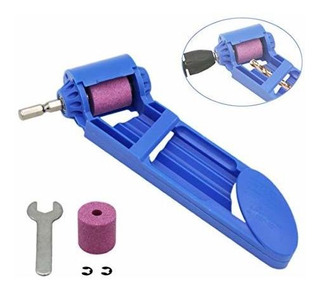
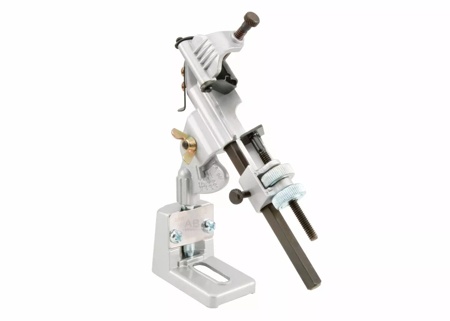
This is a much more sophisticated product from the Wembley brand. It’s imported and available at major hardware stores for around $1,300. It also allows you to adjust the tip angle.
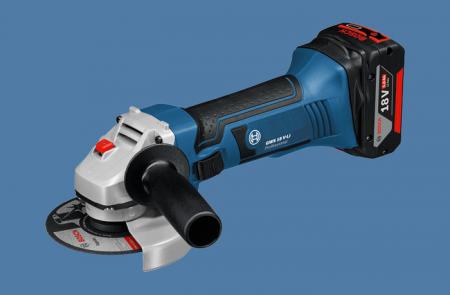
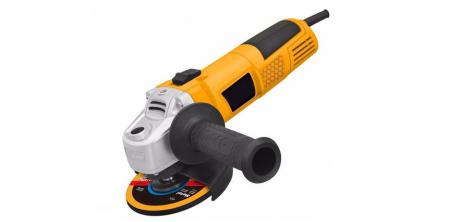
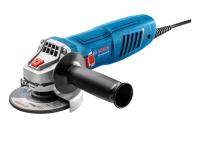
Having a bench grinder adds convenience and quality to the work, allowing you to handle the bit with both hands comfortably. Its controlled speed helps prevent overheating the material. The following video shows how to sharpen high-speed steel drill bits with this accessory.
"Sharpening your twist drill bits has never been easier." This device accepts bits up to 10mm and offers only moderate performance, which might make you question whether it’s worth the $5,500 price tag.
There’s a wide variety of commercial products we won’t list in this article because it would be too extensive. Let’s return to DIY methods with some recommendations.
Whether using a drill or a bench grinder, the stone should be fine-grained. You can’t achieve a good edge with a standard grinding stone. If the bit is heavily damaged, you can start with a coarse grain and finish with a fine grain.
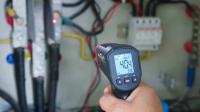
Always monitor RPMs and sharpening time. Excessive heat can cause the steel to lose its hardness.
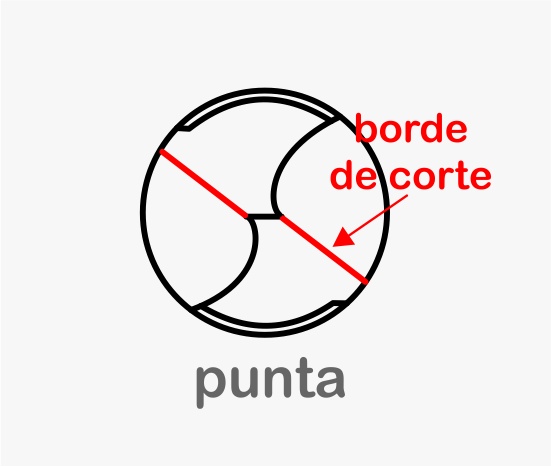
Approximately 12º of the indicated section should be ground down to prevent it from dragging while rotating. If this area isn’t ground down, it will cause unnecessary friction, increasing heat and reducing pressure and cutting efficiency.
We hope you found this article helpful.

They are already part of the Job Board